In led pcb mnufacturing process, you will start from substrate preparation. This process further goes into copper layer etching, and solder mask applications.
So in this guide, you will learn the basics of led pcb manufacturing process. each step. For example, it covers everything from the first design to the final testing. Understanding this process is very important.
Why? It helps you see how these special boards make effective modern lights. What are you going to learn? In this article, you will learn following things:
- What is led PCB?
- LED PCB Parts
- Types of LED PCBs
- LED PCB Manufacturing Process
- Applications of led PCB
Learning Basics of LED PCB
Before you go deep into making LED PCBs, it is helpful to know what they are. You also need to understand what makes them special.
How LED PCBs is Different?
LED PCBs are not like regular circuit boards. They have a special job. They need to manage heat very well. Light Emitting Diodes, or LEDs, create heat when they light up. If this heat stays on the board, the LEDs will not last long.
They can even fail. Traditional PCBs do not always handle heat this way. Therefore, LED PCBs often use materials that move heat away from the LEDs. This helps them stay cool.
Types of LED PCBs
You will find different types of LED PCBs. Each one is made for a specific use.
Rigid PCBs
These are hard and do not bend. They are very common. You see them in many lighting products. They offer good support for components.
Flexible PCBs
These PCBs can bend and twist. You use them in places where space is tight. They are also good for lights that need to fit curved shapes.
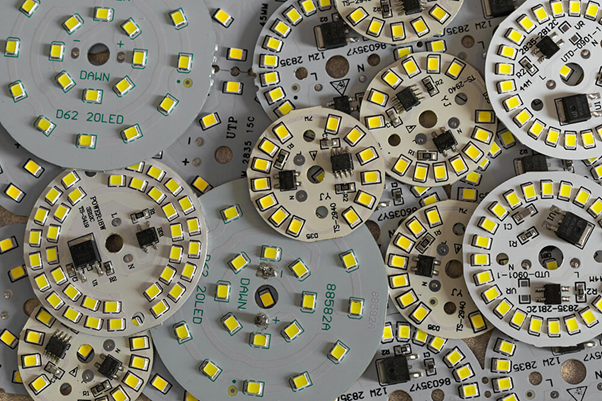
Metal Core PCBs
These are very special. They have a metal base, usually aluminum. This metal base is excellent at moving heat away from the LEDs. Consequently, they are often used for high-power LED lights. These lights create a lot of heat.
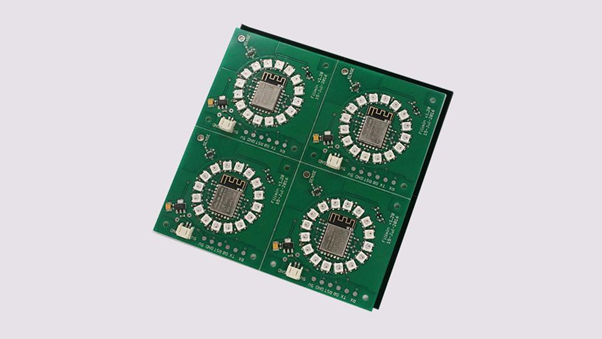
LED PCB Important Parts
You can find several parts in LED PCB. So if you understand these parts it will help you to understand the basics.
LED chips
These are the actual light sources. They are very small. They produce the light you see.
Resistors
These parts control the flow of electricity to the LEDs. They make sure the LEDs get the right amount of power. This stops them from burning out.
Capacitors
Capacitos do two functions. These store and release electrical energy. They help keep the power flow steady. This makes the light more consistent.
Other parts like connectors and heat sinks are also important. They help the board flawless.
Step-by-Step Guide to LED PCB Manufacturing
Making an LED PCB involves many careful steps. You need to follow each one closely.
Step 1: Design and Prototyping
The first step is about planning. You need a good design.
PCB Design Fundamentals
You will employ special computer programs in doing this. It is referred to as CAD software. This program assists you in making the board layout picture. It is up to you where you place all the pieces. This is quite crucial in the case of LED.
Prototyping Process
After designing, you make a test version. This is called a prototype. You check if it works as planned. You test its functions. You also make sure it meets all requirements. This helps you find any problems early. In addition, it saves time later.
Importance of Design
It depends on the manner in which you have created the board. You have to consider the way of heat removal. You must also lay out how power will diffuse itself throughout the board. Then we have Space constraints which matter here.. With a good design, the LEDs perform best.
Step 2: Material Selection
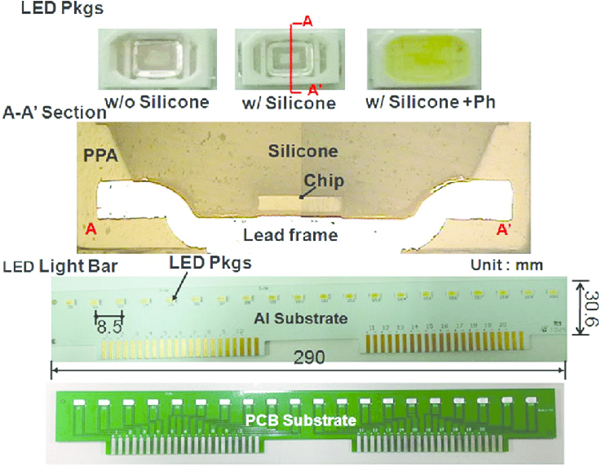
The selection of materials is of great concern to LED PCBs. This will be due to the heat that is generated by LEDs.
Choosing the Right Material for LED PCBs
You will select such materials as copper, FR4 or aluminum substrates. Aluminum is preferred when it comes to improved heat handling. It conveys the heat out of the LEDs quite good.
Thermal Management Considerations
Your materials are the core factors which affect how well the board handles heat. A material that moves heat away quickly helps the LEDs last longer. It also helps them work better.
Selecting Materials
You must pick materials that are strong. They need to last a long time. They also need to help the LEDs work well. This is especially true for high-power lights. These lights need materials that can handle a lot of energy.
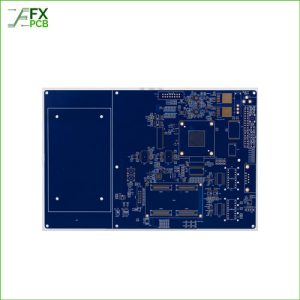
Step 3: PCB Fabrication
This is where the board itself is made. It involves several layers and processes.
Layering Process
PCBs can have one layer, two layers, or many layers. You choose based on how complex the LED application is. More layers allow for more complex circuits.
Drilling and Via Formation
Next, tiny holes are drilled into the board. These holes are called vias. They allow electricity to travel between different layers of the PCB. This is how connections are made for LED assembly.
Applying Solder Mask and Silk Screen Printing
After drilling, a thin layer of protective material is put on. This is called solder mask. It protects the copper traces. It also stops solder from going where it should not. Then, silk screen printing adds labels and symbols to the board. This helps you know where to place components. It also helps with electrical connections.
Etching Process: Chemical etching is a key step. It removes unwanted copper from the board. This leaves behind the circuit paths. These paths define the PCB layout. This is how the electrical connections are formed.
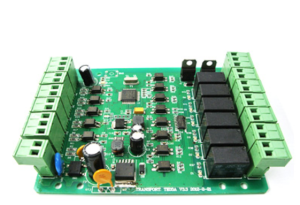
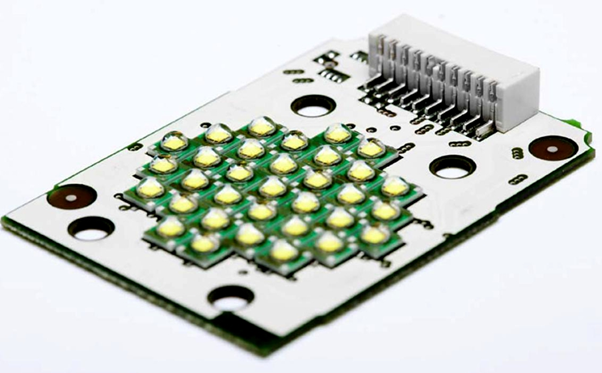
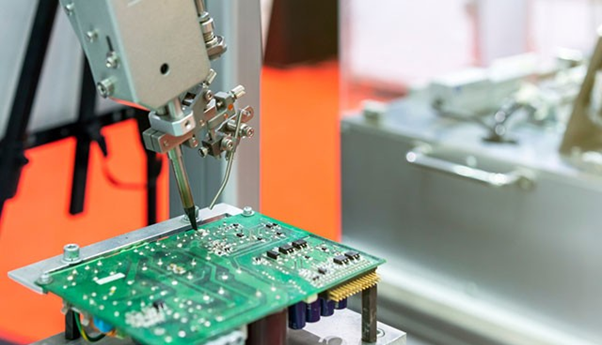
Step 4: LED Assembly and Soldering
This step puts all the parts onto the PCB.
LED Placement
LEDs are very small. They need to be placed with great care. You can place them by hand for small jobs. However, for large numbers, automated machines are used. These machines place the LEDs very precisely.
Soldering Methods
There are two main ways to connect the LEDs. Wave soldering is used for boards with parts on one side. Reflow soldering is used for boards with parts on both sides. It melts solder paste to connect the parts. Both methods ensure strong connections for LED PCBs.
Precision in Assembly
It is very important that all LED components are placed correctly. They must also be connected properly. Any mistake here can stop the LED from working. It can also make the light dim.
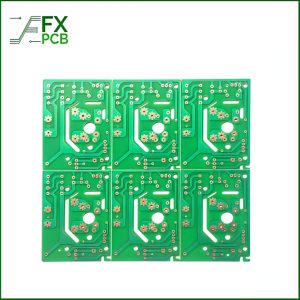
Step 5: Testing and Quality Control
After assembly, you must check the board thoroughly. This ensures it works as it should.
Visual Inspection
You will look at the board closely. You check for any mistakes in soldering. You also check if all parts are in the right place. This is a first check for quality.
Functional Testing
Next, you verify that the LED circuit works. You turn it on. You make sure the LEDs light up correctly. You also check if all other functions work as intended.
Thermal Testing
This is a very important test for LED PCBs. You test how well the board handles heat. You ensure proper thermal management. If the board gets too hot, it will not last long.
Endurance Testing
Lastly, you test how long the PCB will last. You run it under normal conditions for a long time. This helps assess PCB longevity. It also ensures it will perform well over time.
What factors reduce LED PCB Performance?
Several things can change how well an LED PCB works. You need to understand these.
Thermal Management
Why heat dissipation is critical for LED performance. Heat is the biggest enemy of LEDs. If heat stays on the board, the LEDs will get hot. This makes them less bright. It also makes them die faster. Good thermal management is key for LED performance.
Electrical Conductivity
The material you choose affects how well electricity flows. Good electrical conductivity means less energy is lost as heat. This makes the LED work better. It helps it produce more light for the same power.
Long-Lasting Performance
You want your LED PCBs to last a long time. Quality manufacturing helps ensure long-lasting performance. Strong materials and good design make the board tough. This helps it work consistently for many years.
Applications of LED PCBs
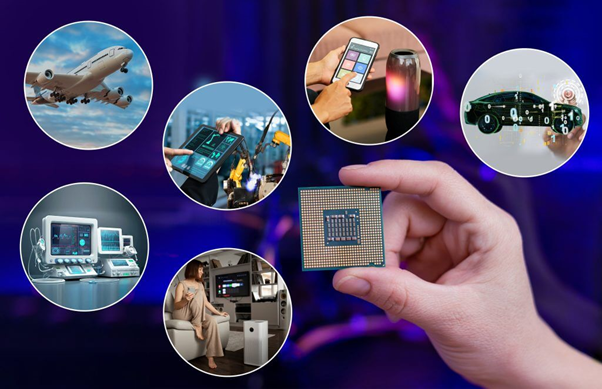
The LED PCBs find application in a variety of areas. You can find them everywhere.
General Lighting
They are present in houses, in offices, and on street lights. They are applied in commercial and residential lighting, as well as street lighting.
Automotive Lighting
They are in automobiles. You find LED PCBs in lights, headlights, taillights and indicators. They improve the safety and visibility of cars.
Display Technology
They are applied in screens and billboards. Many LED PCBs are used in large LED displays. They render clear images that are bright.
Consumer Electronics
You have them in your daily gadgets. This involves smart phones, televisions, and numerous others. These items use led PCBs in large quantities.
Medical Devices
They are even seen in hospitals. LED PCBs are used in diagnostic equipments. They give light during examination and in other medical applications.
Best Practices for LED PCB Manufacturing
There are practices to follow in order to come up with the best LED PCBs.
Sustainability Considerations
You are supposed to consider the environment. Green technologies are significant. This amounts to the utilization of less harmful materials. It also entails the minimization of wastes.
Economical Production Processes
You do not want to pay a lot of money to produce good PCBs. You want to obtain the greatest good boards out of your materials. That is, it is producing as much as possible with the best possible quality. This assists in reducing the expenses.
Long Term Reliability of LED PCBs
You have to ensure that the boards will last long. Some of the factors that you take into account include robustness of the materials. Another thing you consider is how stable the performance is going to be. This provides a long time regular performance.
Conclusion
Now, you have known the whole process of production of LED PCBs. This goes all the way to design to testing. It is necessary to understand every step. Through it you get to witness the way our world runs through these boards. Never forget about the importance of good design. In addition, employ appropriate materials. Go through meticulous manufacturing processes. By doing so, you will produce quality LED-PCBs.